Setting the Configuration Options
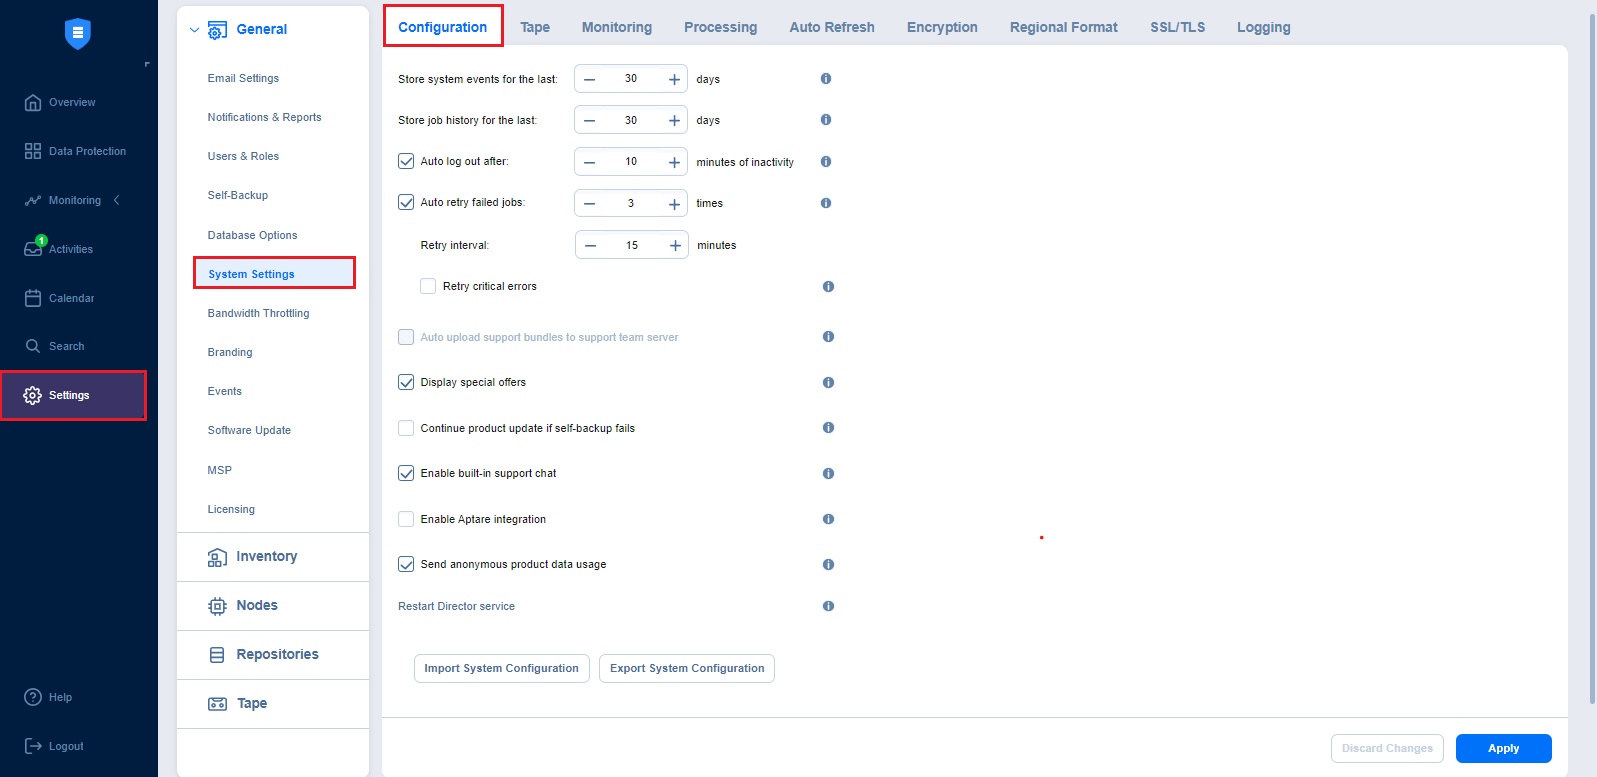
With the Configuration tab, you can define how long system events and job histories are stored, automatically retry failed jobs, manage user sessions and inactivity timeouts, and decide how the system responds to critical and non-critical errors. Set the following options:
-
Store system events for the last x days: Events older than the specified number of days (can be from 5 to 365) are deleted.
-
Store job history for the last x days: The history of the jobs older than the specified number of days (can be from 5 to 90) is deleted.
Note
This option is not displayed for the Master tenant in Multi-tenancy mode. -
Auto log out after x minutes of inactivity: When this option is selected, the current user is automatically logged out of NAKIVO Backup & Replication after the specified period of inactivity.
-
Auto retry failed jobs x times with y minutes interval: When this option is selected, failed jobs are automatically retried the specified number of times (from 2 to 10) and with the specified time interval (from 1 to 60). Jobs with failed backup, replication, and recovery remain in the “running” state until all retries have either succeeded or failed.
-
Retry critical errors: When this option is selected, NAKIVO Backup & Replication tries to automatically rerun jobs with critical and non-critical errors a specified number of times.
Notes
-
The term critical error refers to persistent errors that are unlikely to change without any additional intervention, that is, hardware failure.
-
The term non-critical error refers to non-persistent errors that are likely to change without any additional intervention, that is, unstable network connection.
-
-
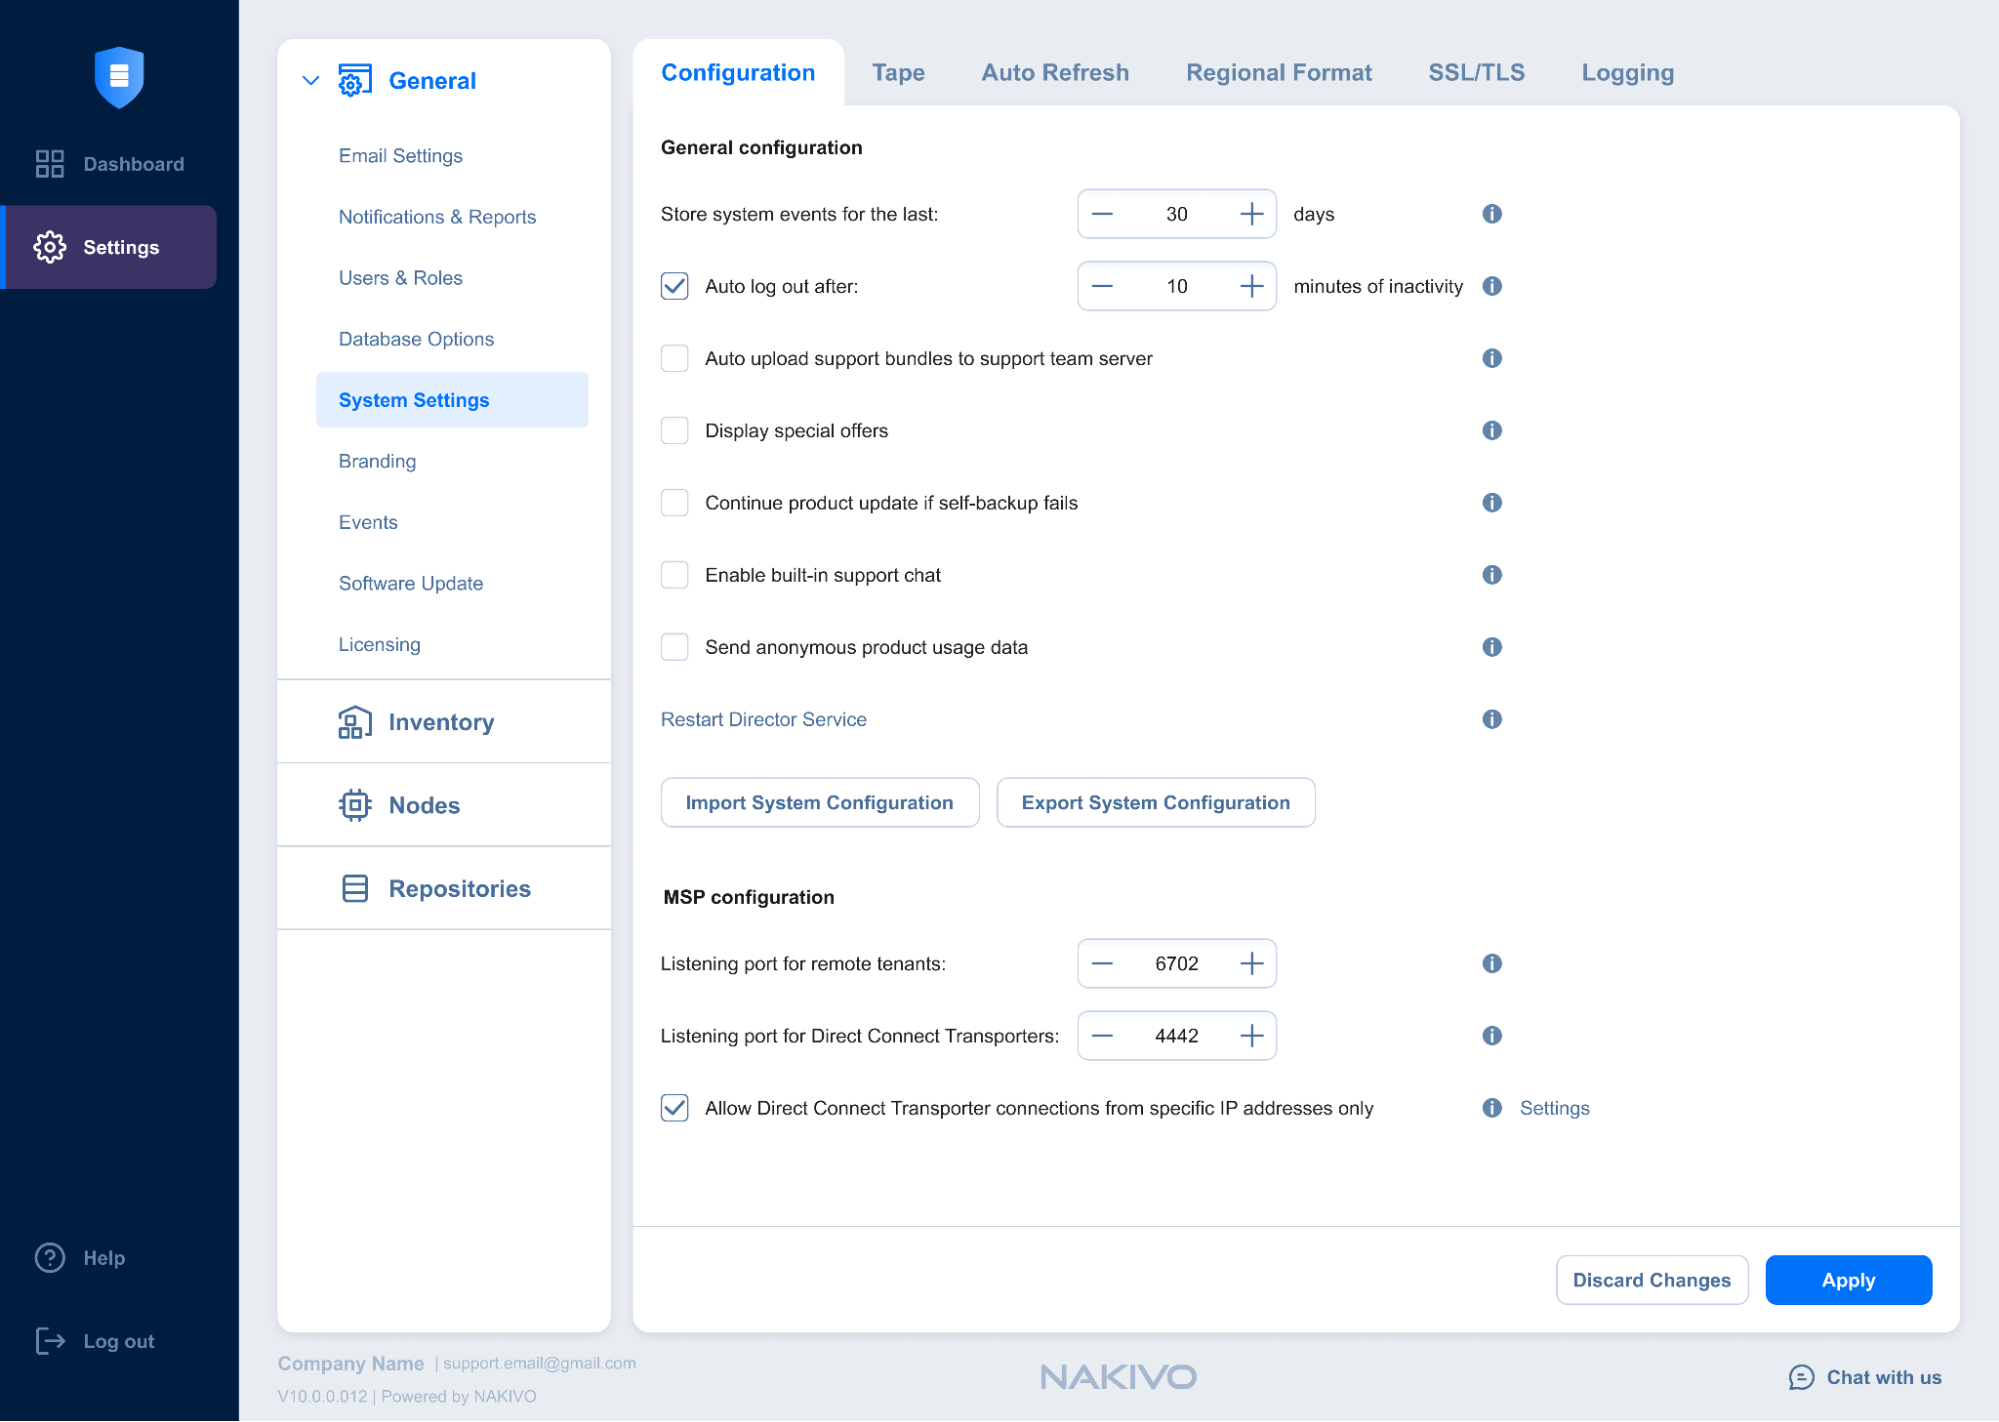
Auto upload support bundles to support team server: When this option is selected, NAKIVO Backup & Replication automatically creates, encrypts, and uploads support bundles once a day to a NAKIVO support server. The NAKIVO Support Team may use this information to improve the product experience and to identify and resolve product issues faster.
-
Display special offers: When this option is enabled, the NAKIVO special offers toolbar appears in the NAKIVO Backup & Replication interface.
-
Continue product update if self-backup fails: When this option is selected, updates proceed even if self-backup cannot be performed.
-
Enable built-in support chat: When this option is selected, you can contact a NAKIVO representative via chat in the NAKIVO Backup & Replication interface. When selected in the multi-tenant mode, the built-in support chat is available to all tenants of the NAKIVO Backup & Replication instance.
-
Enable Aptare Integration: Select this option to integrate the APTARE storage resource management platform with NAKIVO Backup & Replication.
-
Send anonymous product usage data: Enable this option to send anonymous product usage data to NAKIVO for efficient product development and enhancement. Note that no personal data is collected.
-
Click the Use New Scheduler link to enable the use of a new scheduler that merges the retention and schedule steps. The scheduler allows you to set backup retention settings per schedule and get expiration dates for recovery points.
-
You can click Restart Director service to stop all current activities and restart the Director. After clicking the link, a confirmation window appears. Click Reboot to confirm the restart.
-
Import System Configuration: Find more information on the topic here.
-
Export System Configuration: Find more information on the topic here.
-
You can also configure the following options in Multi-tenant mode:
-
Listening port for remote tenants:
-
Specify the listening port for remote tenant connections in a multi-tenant environment (6702 is the default port). You can change this option only in the master tenant.
-
Restart the Director to apply the changes.
-
-
Listening port for Direct Connect Transporters:
-
Specify the listening port for a Direct Connect Transporter. The allowed range is 1 – 65,535 (4442 is the default port).
Note
The port must be different from the MSP Director port configured in the installer. You can change this option only in the master tenant. -
Restart the Director to apply the changes. For more information, see MSP Direct Connect.
-
-
Allow Direct Connect Transporter connections from specific IP addresses only: Select the checkbox to allow only whitelisted Direct Connect Transporters to connect to the MSP Director.
-
Settings: Click the link to open the Direct Connect Transporter IP whitelist dialog box.
-
