File Level Recovery Wizard: Options
On this page of the wizard, you can choose one of the following recovery types:
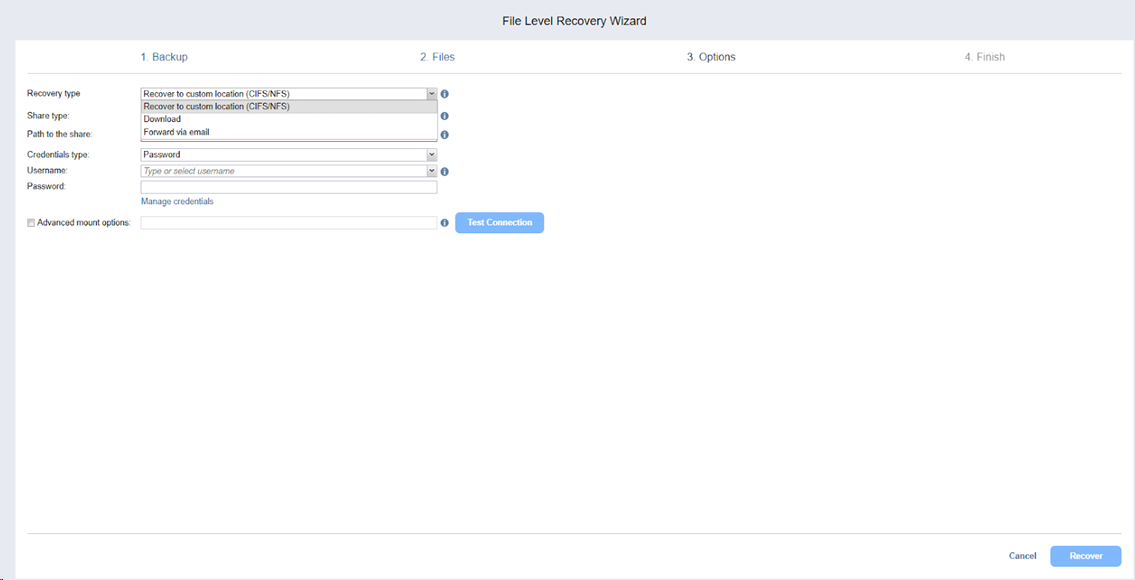
Recovering Files to a Custom Location
To recover folders or volumes to a custom location, do the following:
-
From the Recovery type list, select Recover to custom location (CIFS/NFC).
-
Several boxes open to let you set the options for a custom location. Do the following:
-
In the Share type box, select one of the following:
-
CIFS share
-
NFS share
Note
If the selected archive is deleted from the share during the recovery process to CIFS share, the archive may still reappear in the folder and is deleted after the job is completed. Note that in such cases, the job is still marked as completed.
-
-
In the Path to the share, enter the path to be used for file recovery:
-
A path to share on a remote server if you choose CIFS share/NFS share.
-
-
In the Credentials type select one of the following:
-
Password: In the Username and Password, enter the credentials required for accessing the CIFS share location you specified above.
-
Private Key: Select the Private Key for accessing the CIFS share location that you added with the Manage Credentials UI.
-
-
Click Manage Credentials to create and edit the user credentials (Username and Password) or private keys. For more information, see Managing Credentials.
-
-
Select Advanced mount options if needed.
-
Click Recover.
Note
File-level recovery to CIFS share may fail if network credentials are shared across multiple open CIFS connections. If you encounter issues while performing file recovery to CIFS share, try adding the localhost domain to the used credentials (i.e. localhost\Administrator).
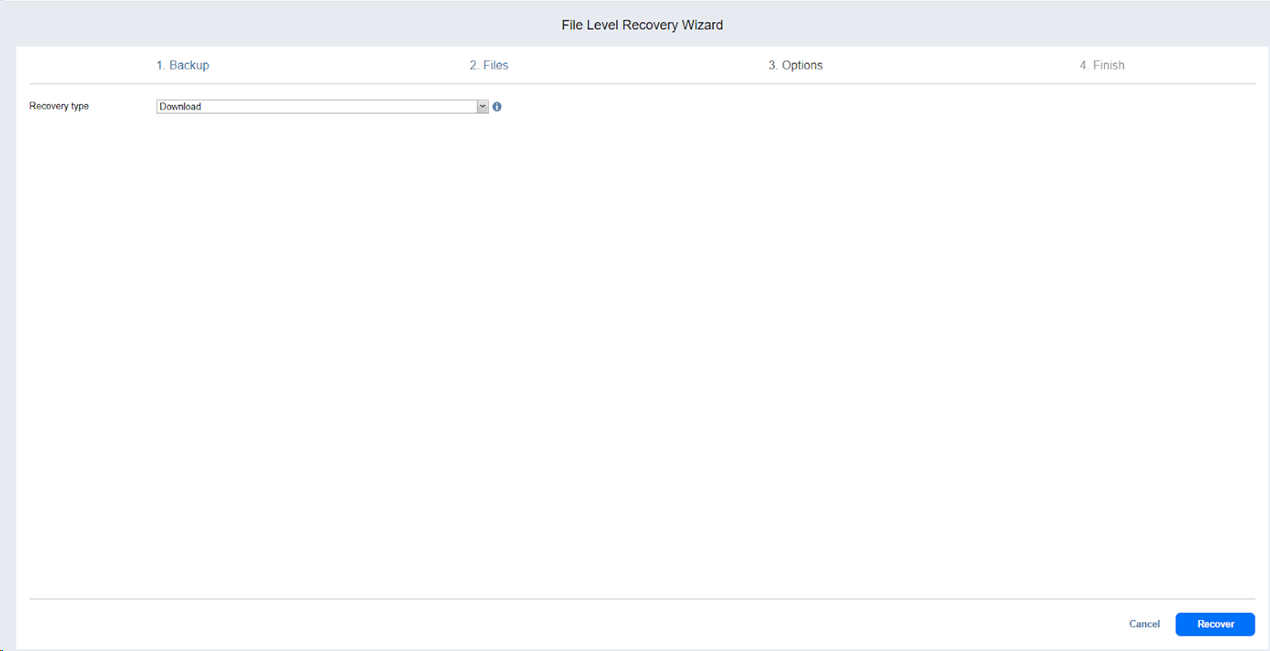
Downloading Files to Browser
To download the selected files to your browser, do the following:
-
In the Recovery Type drop-down list, select Download.
-
Click Recover.
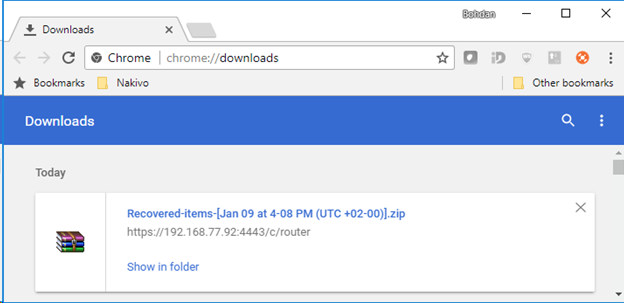
When the download has finished successfully, the archive with the recovered items appears in the browser downloads folder.
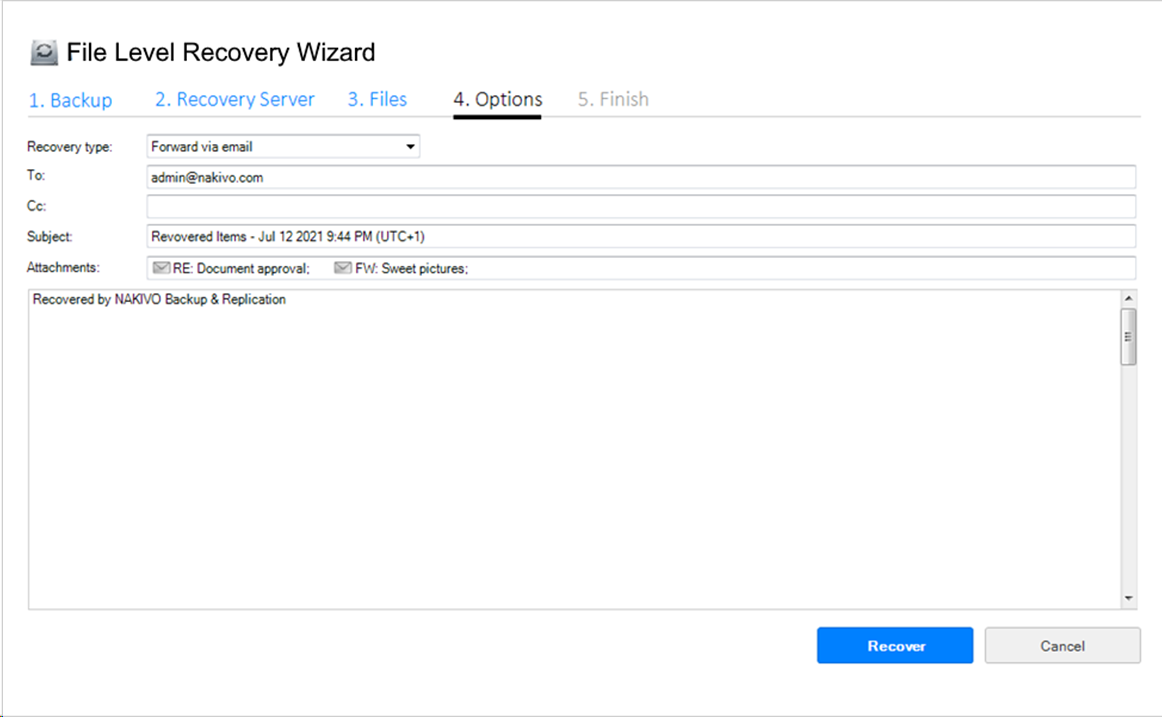
Forwarding Files via Email
Note
To use this recovery type, your Email settings must be properly configured in the NAKIVO Backup & Replication Configuration. Refer to Notifications & Reports for details.
Do the following to forward recovered files via Email:
-
In the Recovery type list, choose Forward via email.
-
Several boxes open to set the options required for forwarding recovery files via email. Do the following:
-
In the To box, enter one or more email addresses to be primary recipients of the recovery files. Use semicolons to separate multiple email addresses. The recipient’s email address is mandatory.
-
Optionally, in the CC box, enter one or more email addresses of secondary recipients.
-
-
Optionally, enter a subject in the Subject box.
-
Click Recover.